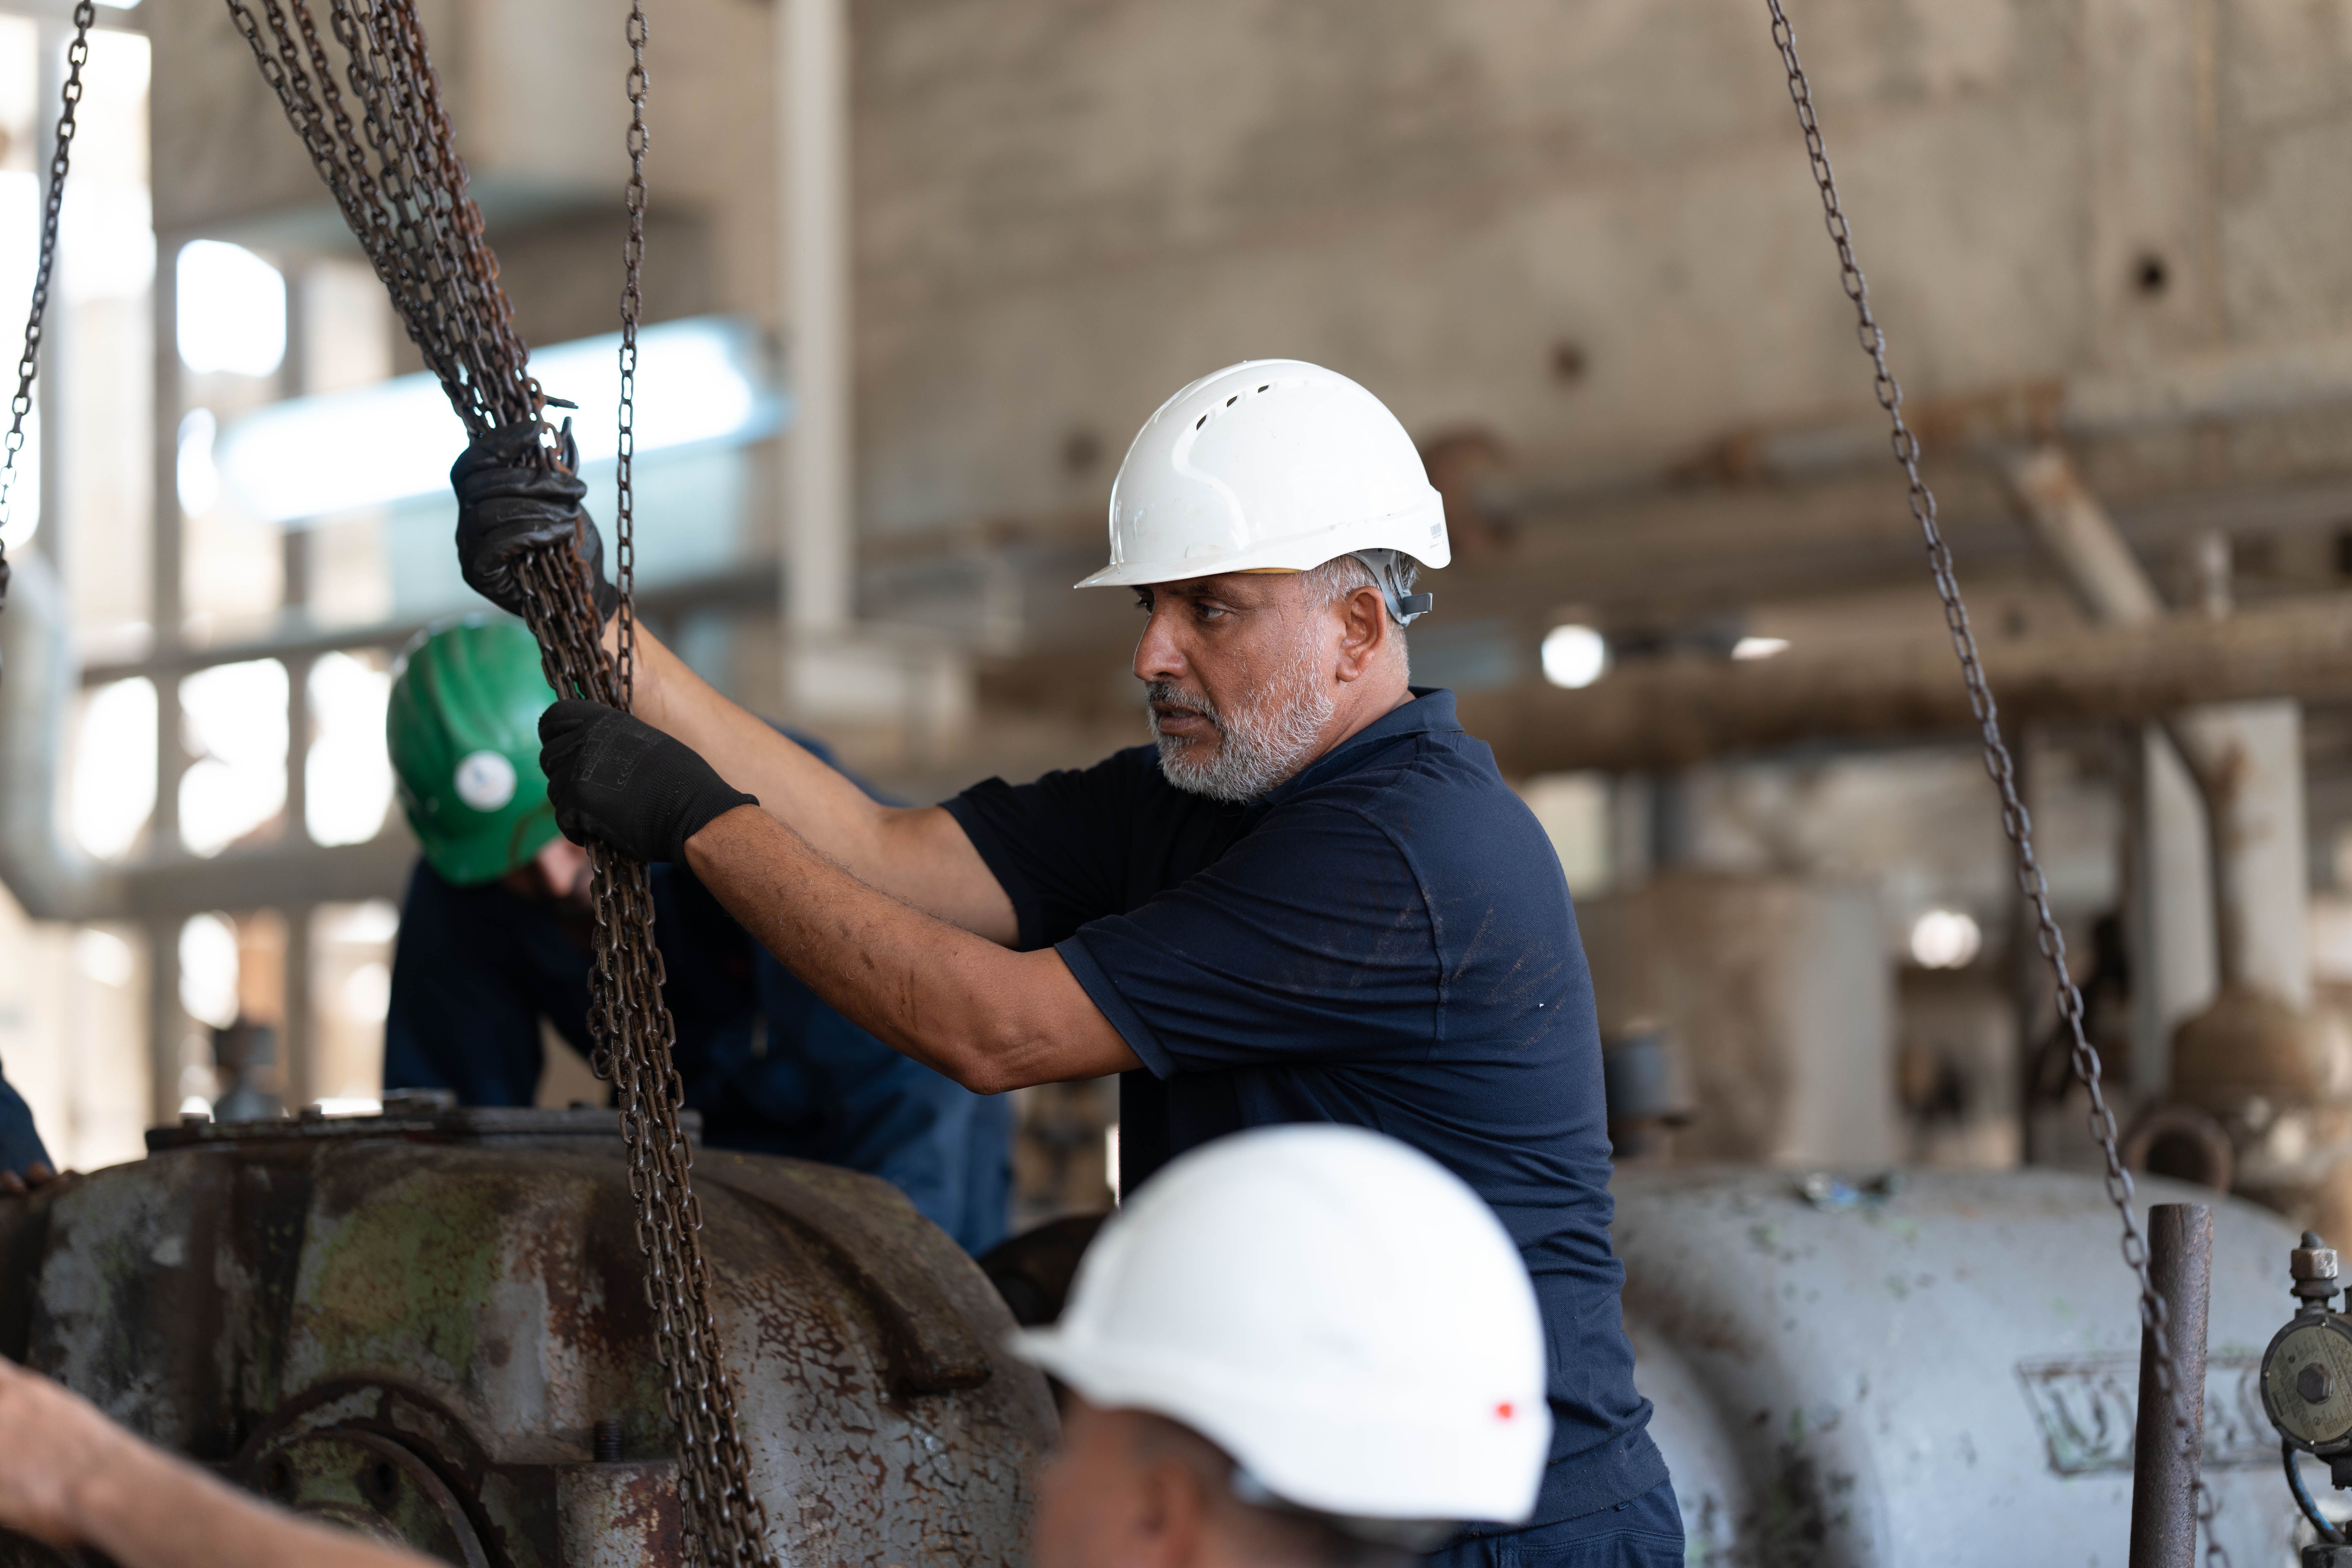
Industrial facilities rely on hoists to move heavy equipment, but when those machines become outdated, damaged, or no longer needed, they can turn into serious safety liabilities. Removing a hoist is not simply a matter of unplugging a motor; it involves a coordinated effort that addresses mechanical, electrical, and environmental hazards. By applying the expertise of a certified industrial hygienist, organizations can ensure that the removal process protects workers, maintains compliance with occupational safety regulations, and minimizes disruption to ongoing operations. This article outlines the critical steps and best practices for safe hoist removal, drawing on professional insights that balance risk mitigation with operational efficiency.
Understanding the Risks Associated with Hoist Removal
Before any physical work begins, it is essential to conduct a thorough risk assessment. The hazards can be grouped into three primary categories:
- Mechanical hazards: Falling loads, sudden release of tension, and structural failure of supporting components.
- Electrical hazards: Live wires, residual charge in motor windings, and potential arc flash incidents.
- Environmental hazards: Release of lubricants, asbestos-containing insulation, or dust that may become airborne during dismantling.
A comprehensive evaluation helps determine the necessary controls, personal protective equipment (PPE), and the sequence of work steps required to safely dismantle the hoist.
Role of a Certified Industrial Hygienist
The involvement of a certified industrial hygienist brings a systematic approach to identifying and controlling exposure risks. Their responsibilities typically include:
- Sampling air for contaminants such as metal fumes or asbestos fibers.
- Evaluating noise levels and recommending hearing protection.
- Assessing ventilation adequacy in confined spaces where hoist components are housed.
- Developing a written health-safety plan that aligns with OSHA and ANSI standards.
Pre-Removal Planning and Documentation
Effective planning reduces surprises on the shop floor. The following documentation should be prepared and reviewed before work commences:
- Equipment specifications and load charts to understand the hoist’s capacity and structural integration.
- Manufacturer’s removal guidelines, if available, to follow recommended disassembly procedures.
- Site-specific safety plans, including lockout/tagout (LOTO) procedures and emergency response protocols.
- Permits required for confined-space entry, hot work, or hazardous material handling.
When the project scope is clearly defined, the removal team can allocate resources efficiently and schedule work to avoid peak production periods.
Step-by-Step Hoist Removal Process
1. Isolate Power and Mechanical Systems
- Implement LOTO on all electrical circuits feeding the hoist, verifying de-energization with a calibrated tester.
- Secure the load chain or rope to prevent accidental release during disassembly.
- Depressurize any hydraulic or pneumatic systems attached to the hoist.
2. Conduct a Controlled Disassembly
- Remove ancillary components (e.g., brakes, limit switches, and safety interlocks) in the reverse order of installation.
- Support the hoist’s frame with temporary rigging to maintain stability while bolts are loosened.
- Label and store reusable parts for future maintenance or resale, if applicable.
3. Manage Hazardous Materials
- Collect used lubricants and fluids in sealed containers for proper disposal according to local regulations.
- If asbestos insulation is present, engage a licensed abatement contractor and follow EPA guidelines for removal.
- Use HEPA-filtered vacuums or wet-scrub methods to control dust generation during cutting or grinding.
4. Final Removal and Site Restoration
- Lower the hoist assembly using a secondary lifting device, ensuring the load path is clear of personnel.
- Inspect the mounting area for structural damage; repair or reinforce as needed before installing replacement equipment.
- Document the entire removal process, including photographs, test results, and any deviations from the original plan.
Post-Removal Validation and Continuous Improvement
After the hoist has been removed, the worksite should undergo a final inspection to confirm that all hazards have been mitigated. Key actions include:
- Air monitoring to verify that contaminant levels are below permissible exposure limits.
- Noise surveys to ensure that residual equipment does not exceed occupational limits.
- Review of incident reports and near-miss data to identify lessons learned.
- Updating the facility’s maintenance and safety manuals with the new configuration.
Continuous improvement cycles, driven by data collected during the removal, help refine future projects and reinforce a culture of safety.
Benefits of Engaging Professional Expertise
While some organizations may consider in-house teams for cost reasons, the specialized knowledge of a certified industrial hygienist offers distinct advantages:
- Accurate hazard identification reduces the likelihood of costly accidents.
- Compliance with regulatory standards avoids fines and work stoppages.
- Optimized removal sequences minimize downtime and maintain production schedules.
- Enhanced worker confidence and morale through visible commitment to safety.
Conclusion
Removing a hoist is a complex undertaking that demands meticulous planning, expert hazard assessment, and disciplined execution. By integrating the insights of certified industrial hygiene professionals and adhering to structured, documented procedures, facilities can eliminate workplace risks while preserving operational continuity. The systematic approach outlined above not only safeguards employees but also supports long-term compliance and efficiency, turning a potentially hazardous task into a model of best-practice safety management.